How to Add a White Background to a Photo

frank25184

Adding a white background to a photo is a common task for product photography, professional portraits, or creating clean, minimalist images for websites and social media. Whether you're preparing product images for an e-commerce store or creating content for your portfolio, a crisp white background makes your subject stand out and gives your photos a professional look.
To add a white background to a photo, upload your image to SceneOF AI's image background removal tool to make the original background transparent, then apply a white background using either AI product background generator or ai image editor. The entire process takes just a few clicks and requires no advanced photo editing skills.

Why Use a White Background?
White backgrounds are the gold standard for many types of photography, particularly:
- E-commerce product photos: Online marketplaces like Amazon and eBay often require or recommend white backgrounds for product listings
- Professional headshots: Clean white backgrounds keep the focus on the subject
- Social media content: White backgrounds create a cohesive, professional aesthetic for business profiles
- Catalogs and marketing materials: White backgrounds ensure consistency across multiple product images
Now let's explore how to achieve this professional look using SceneOF AI's powerful image editing tools.
Using SceneOF AI (Recommended Method)
SceneOF AI offers three powerful AI-driven functions that make adding a white background incredibly simple: an AI image background removal tool, an AI image background generator, and an AI image editor. Here's how to use them:
Method 1: Background Removal + White Fill
This is the most straightforward approach for most users.
Step 1: Upload your photo
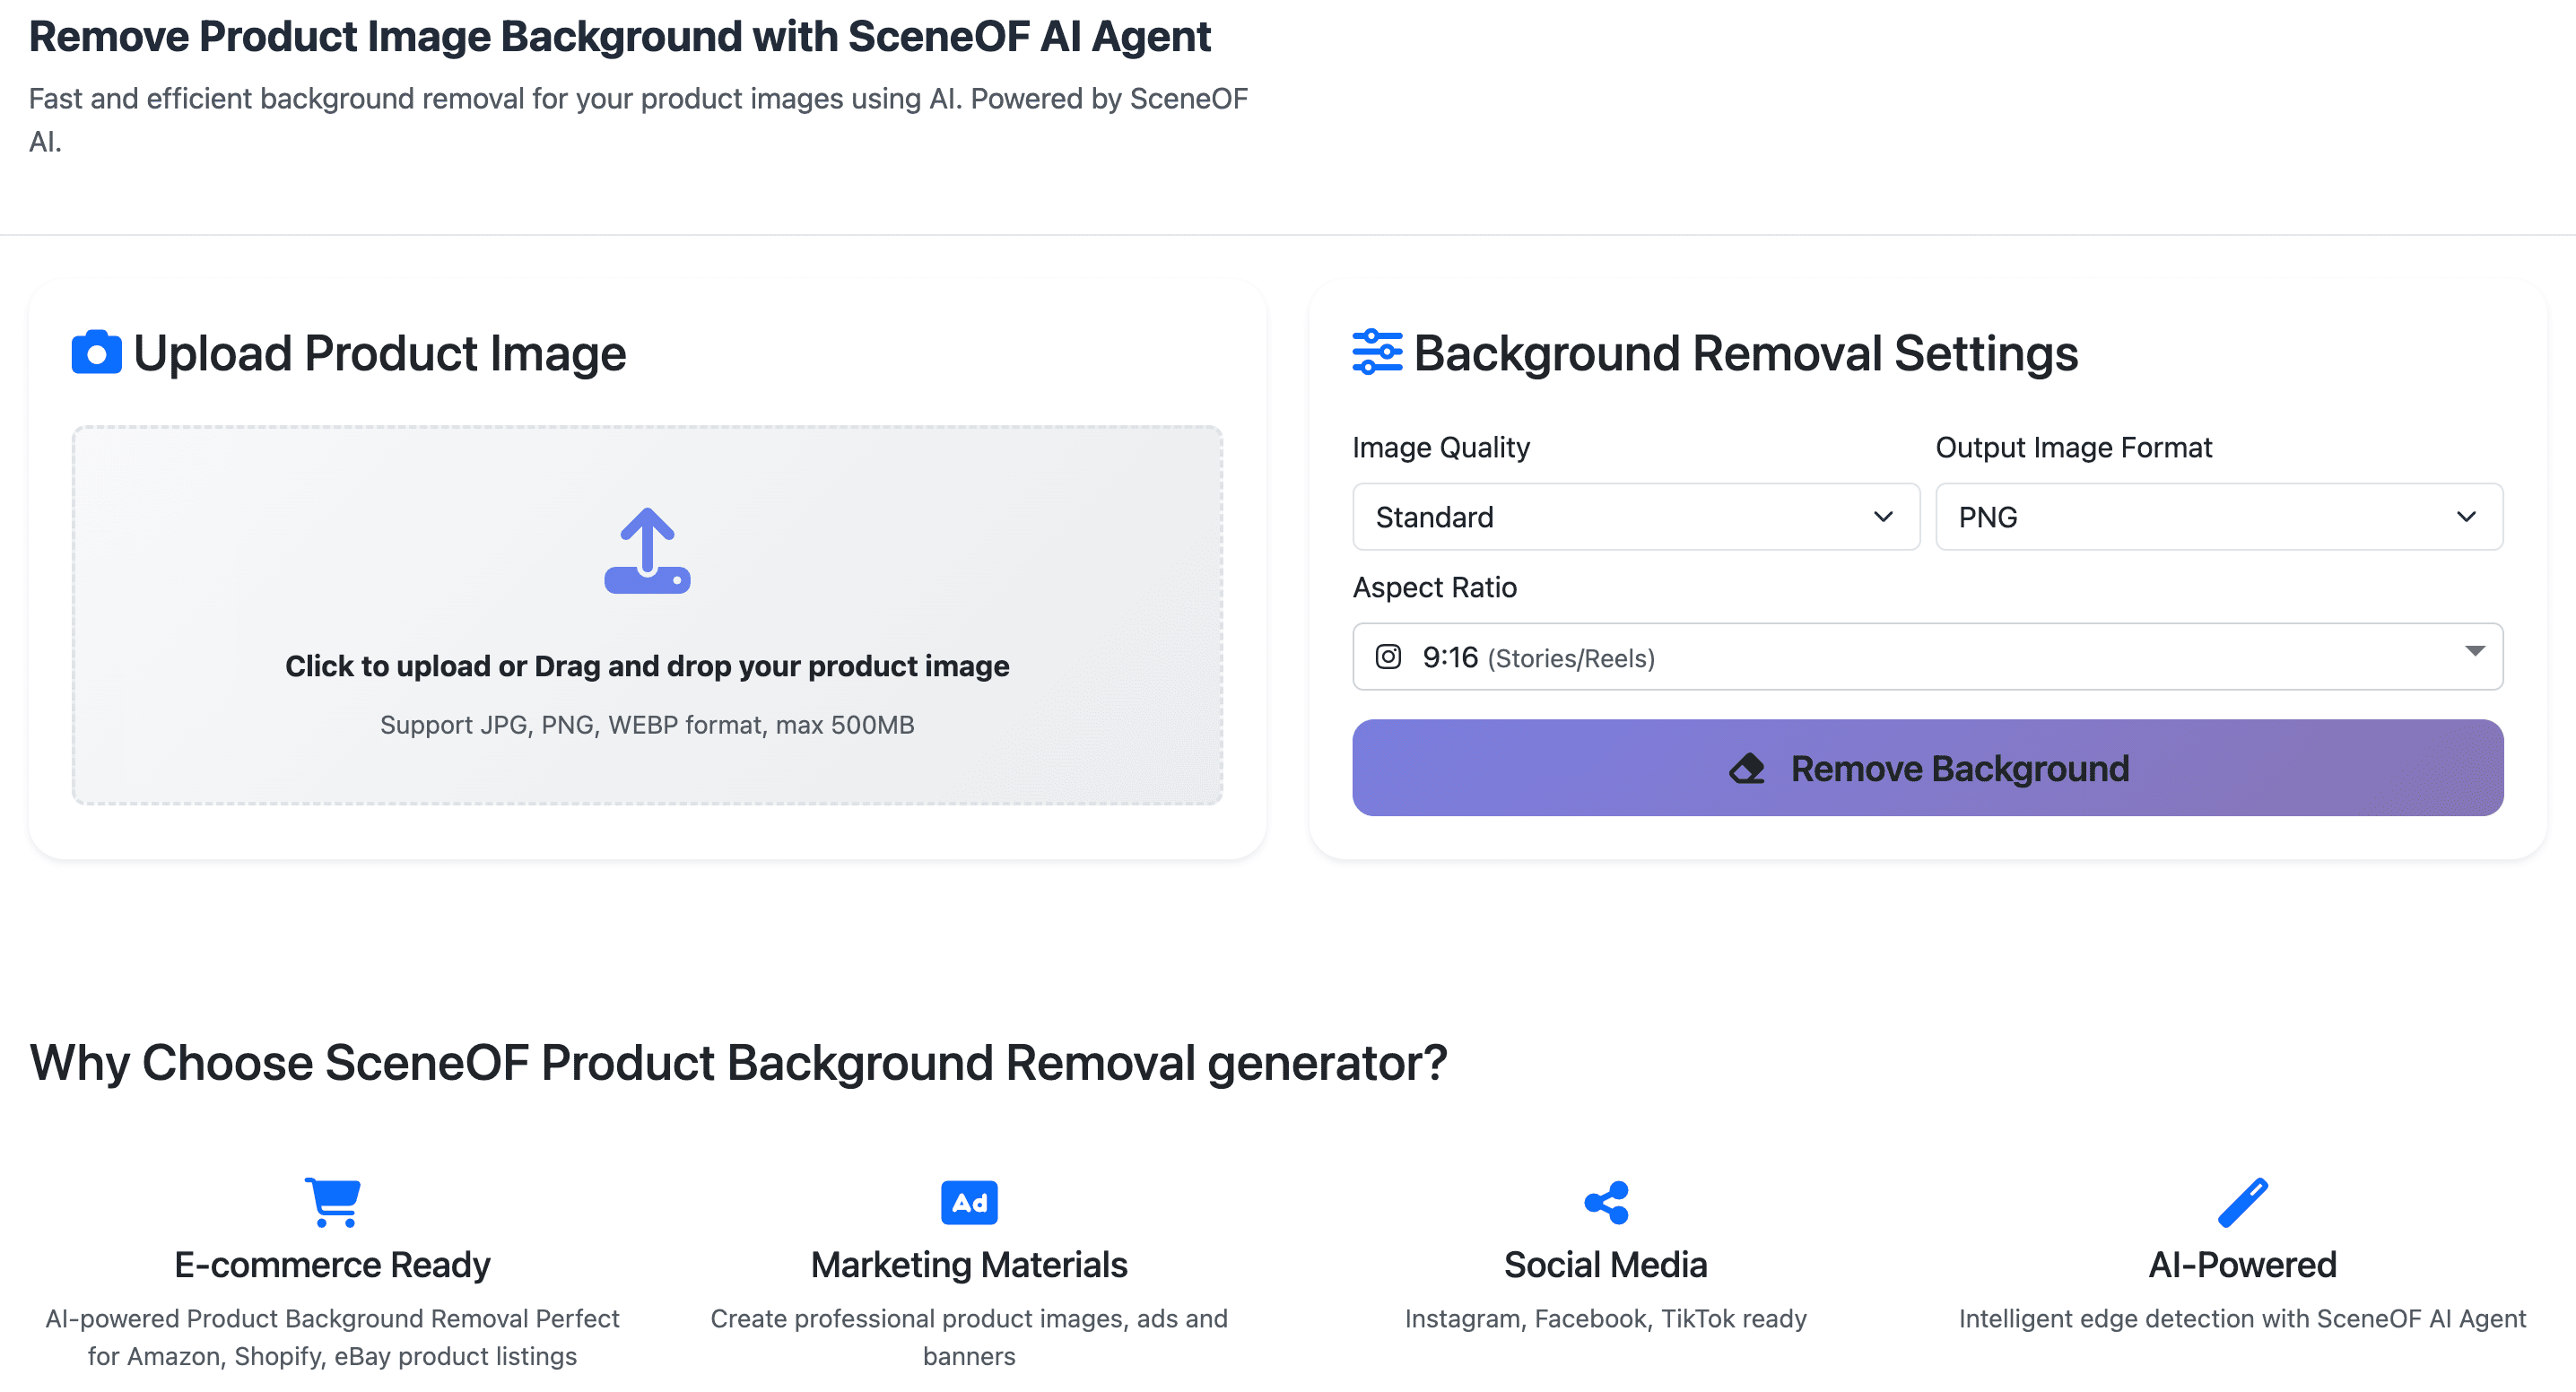
Navigate to SceneOF AI's website and select the AI image background removal tool. Click the upload button and select the image you want to edit from your device. The tool supports common image formats including JPG, PNG, and WebP.
Step 2: Remove the background
Once uploaded, SceneOF AI's advanced AI agent will automatically detect your subject and separate it from the original background. The AI agent is trained on millions of E-commerce images and can accurately identify even complex subjects with detailed edges like hair, fur, or intricate product details. Within seconds, you'll see your subject isolated with a transparent background.
Step 3: Apply a white background
After the background is removed, you have two options:
- Use the built-in background color option that appears in the tool (common use)
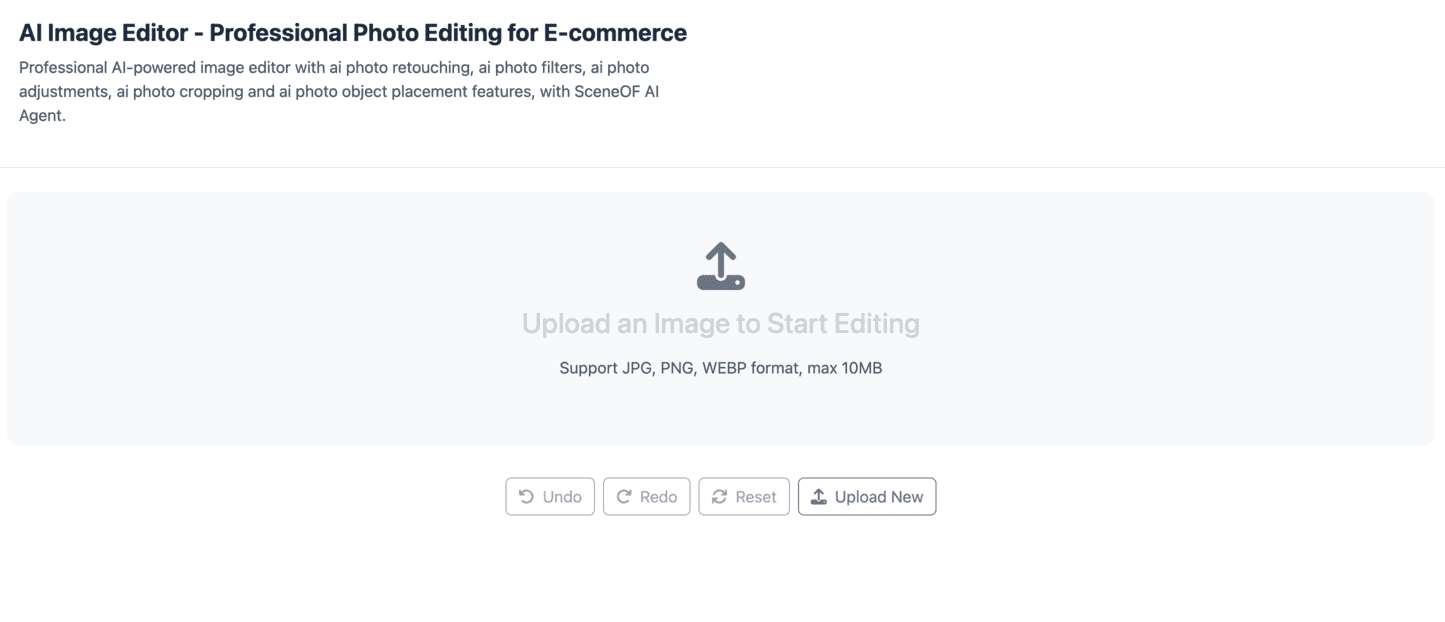
- Click the "Edit" button in the result image section and it’ll automatically redirect to the AI image editor page to add a solid white layer using AI (better effect)
Select the color as white or type text below the image like "Change the background of the image to White" in the text area. The tool will instantly apply a pure white background behind your subject.
Step 4: Fine-tune if needed
SceneOF AI's image editor allows you to make additional adjustments if necessary. You can:
- Adjust the positioning of your subject
- Refine edges if any background remnants remain
- Adjust brightness or contrast to ensure your subject looks perfect against the white background
Step 5: Download your image
Once you're satisfied with the result, download your final image.
Tips:
You can choose your preferred file format (PNG for maximum quality with transparency support, or JPG for smaller file sizes) and resolution in the tool page too.
Method 2: Using the AI Background Generator
For more creative control, SceneOF AI's background generator offers another approach.
Step 1: Access the AI background generator
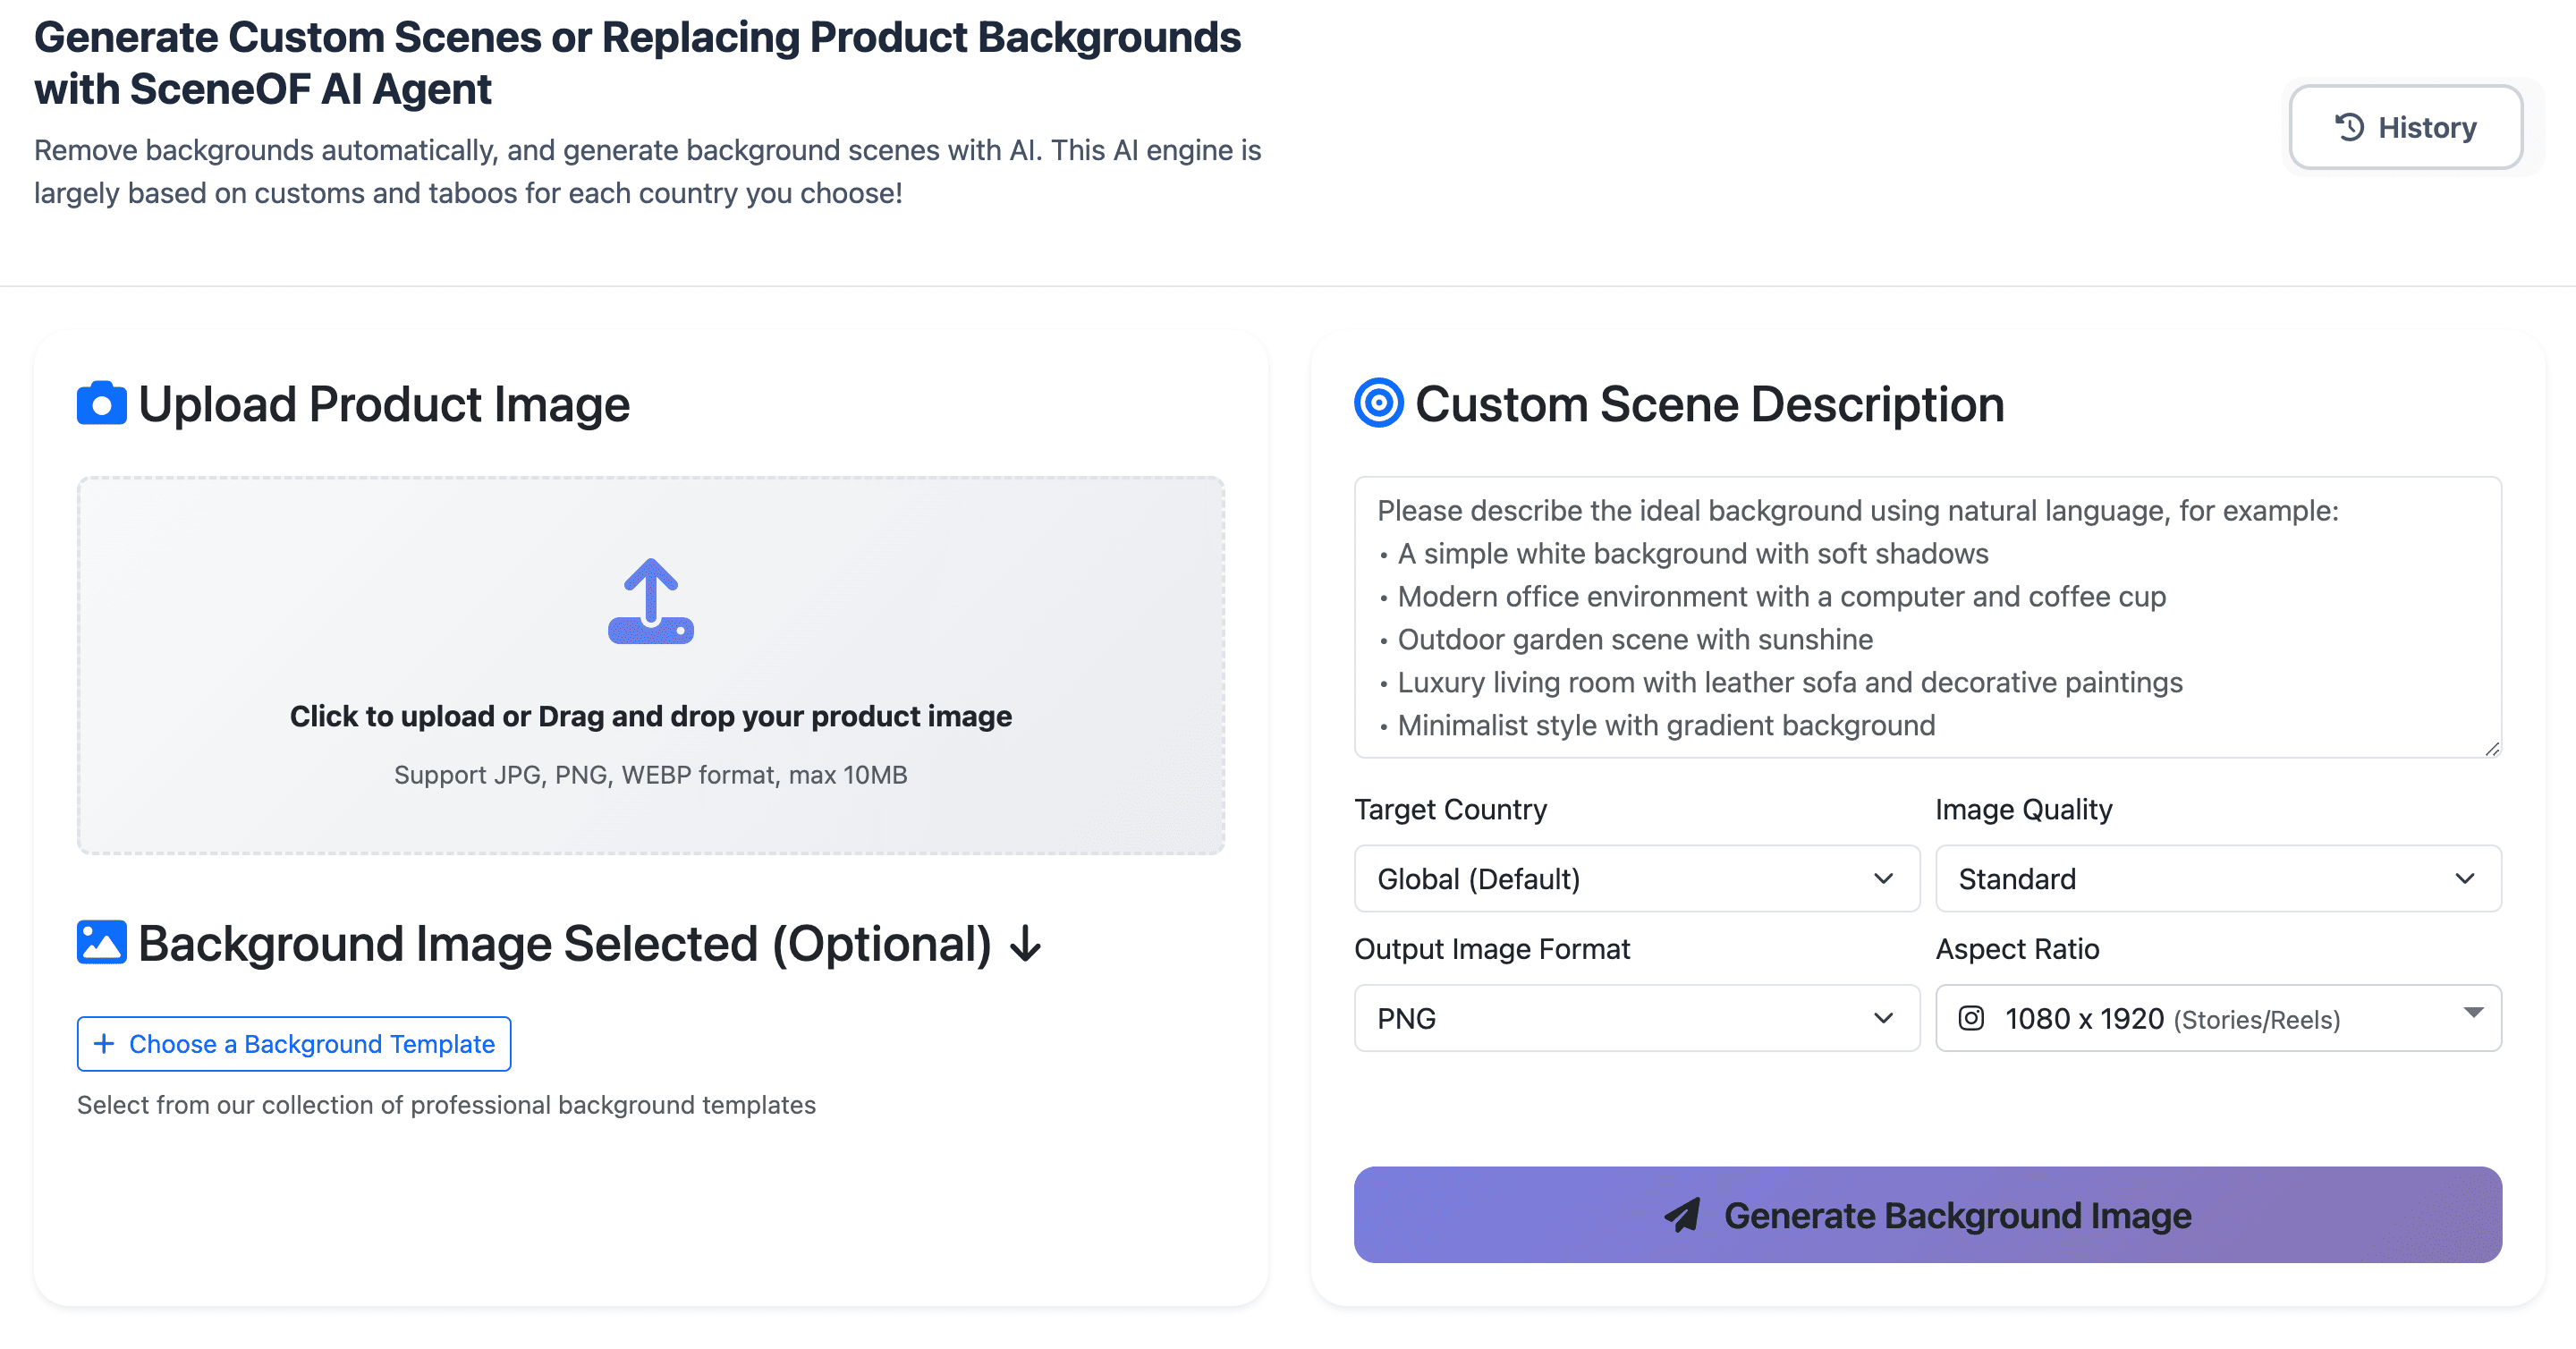
Click the upload button and select the image you want to edit from your device. The tool supports common image formats including JPG, PNG, and WebP.
Type, for example, "Add a White Background to the desk". Then the SceneOF AI agent will generate a perfectly uniform white background that matches professional photography standards.
Step 2: Adjust and export
Preview the result, click "Edit" button and make any final adjustments using the AI image editor, and finally download your completed image.
Tips for Best Results
Regardless of which method you choose, keep these tips in mind:
1. Start with high-quality images: The better your original photo, the better your final result will be. Aim for good lighting and sharp focus on your subject.
2. Ensure good contrast: Photos where the subject clearly contrasts with the original background will yield cleaner results. If your subject is already on a white or very light background, the AI might have difficulty distinguishing edges.
3. Check the edges: After applying the white background, zoom in to examine the edges of your subject. Look for any remaining background artifacts or harsh cutout lines that might need refinement.
4. Consider shadows: For product photography, you might want to add a subtle shadow beneath your product to prevent it from looking like it's floating. SceneOF AI's AI editor can help you add realistic shadows if needed.
5. Mind the resolution: Download your images at the highest resolution available, especially if you plan to use them for print materials or large web displays.
Common Use Cases
Product Photography: E-commerce sellers frequently need white backgrounds for multiple products. SceneOF AI's batch processing capabilities (if available) can save hours of manual editing work.
Portrait Photography: Professional photographers can quickly transform location shots into studio-quality portraits with clean white backgrounds, perfect for corporate headshots or modeling portfolios.
Social Media Content: Content creators can maintain a consistent aesthetic across their social media profiles by applying white backgrounds to all their posts.
Document Photos: White backgrounds are often required for official documents, ID photos, and visa applications. SceneOF AI ensures your photos meet these standards.
Advantages of Using SceneOF AI
Unlike traditional photo editing software that requires installation and a steep learning curve, SceneOF AI offers:
- No software installation required: Access the tools directly from your web browser
- AI-powered accuracy: Advanced machine learning algorithms deliver professional results automatically
- Time efficiency: What might take 15-20 minutes in traditional editing software takes just seconds
- User-friendly interface: No photo editing experience necessary
- Consistent results: The AI ensures uniformity across multiple images
- Cultural Awareness: The Advanced AI Agents understand cultural nuances and preferences for different countries!
Conclusion
Adding a white background to your photos doesn't have to be complicated or time-consuming. With SceneOF AI's suite of tools—the background removal tool, background generator, and image editor—you can achieve professional-quality results in just a few clicks. Whether you're a small business owner preparing product photos, a photographer streamlining your workflow, or a content creator maintaining brand consistency, SceneOF AI provides an efficient, accessible solution for all your background editing needs.
The combination of powerful AI technology and intuitive design makes SceneOF AI an excellent choice for anyone looking to create clean, professional images with white backgrounds quickly and easily.